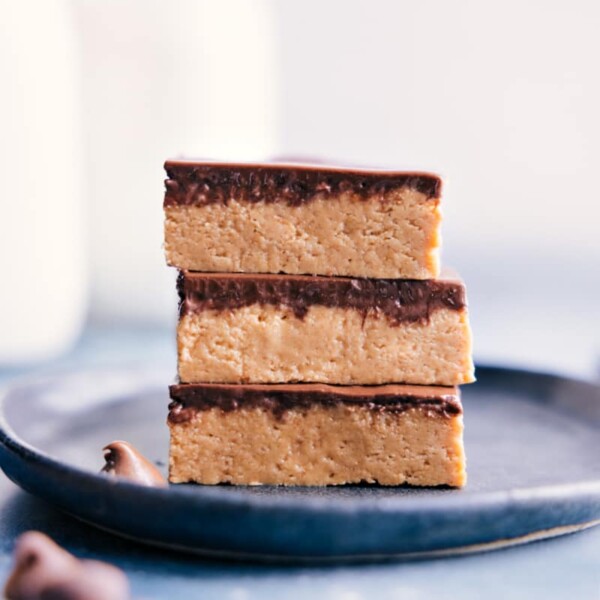
Lunch Lady Bars are soft, chewy bars layered with creamy peanut butter and smooth chocolate frosting for a nostalgic treat everyone loves.
If you’re looking for no-bake peanut butter bars, try these Peanut Butter Bars.


author’s note
Sweet And Nostalgic Peanut Butter Bars!
Even though school cafeterias don’t serve these lunch lady bars anymore because of allergy concerns, they were a total staple of my childhood. I can still remember them clearly! As a peanut butter and chocolate lover, these were always my favorite, and to this day, they still feel really nostalgic.
The oaty brown sugar base, that creamy peanut butter layer, and the soft chocolate frosting on top…I mean, come on. They’re so good.
I also love making these when I need something easy to share or bring to an event since they make a big batch and are always a crowd-pleaser.


Lunch Lady Bars Ingredients
| Ingredient | Let’s Chat About It |
|---|---|
| Butter & Brown Sugar | Use room temp butter so it creams smoothly with the sugar and gives the bars a chewy, soft texture. |
| Eggs & Vanilla | Bring eggs to room temp for better mixing and a more even batter. |
| Oats & Flour | Stick with old-fashioned oats for the right texture. Quick oats will make the bars dry since they absorb more liquid. |
| Peanut Butter | Use creamy, no-stir peanut butter for the best texture and easy spreading over these Lunch Lady Bars. |
| Frosting Ingredients (butter, milk, cocoa powder, powdered sugar) | Use real butter and Dutch-process cocoa for the best frosting flavor and texture. |

Let’s Talk Pan Size
What Pan To Use
These lunch lady bars require a specific pan to turn out right. Using a different size will change the thickness and texture.
Use a 17 x 12.25-inch jelly roll pan or a 13 x 18-inch sheet pan. (These photos are using the 13 x 18-inch pan)

How To Make Lunch Lady Bars
- Prep: Preheat oven, line or grease a jelly roll pan, and set aside.
- Cream: Beat butter and sugar, then mix in remaining ingredients until combined.
- Bake: Press dough evenly into pan and bake until set but still soft.
- Peanut butter layer: Warm, drizzle, and spread peanut butter; let set.
- Frost & cut: Beat frosting until smooth, spread over cooled bars, then slice with a hot, sharp knife.

Chelsea’s Notes
My Number One Tip!
Use fresh ingredients: Fresh, super soft brown sugar and active leavening give these lunch lady bars a better and softer texture.

Variations
Turn these into Lunch Lady Peanut Butter Brownies by starting with brownies, adding a peanut butter layer, and finishing with chocolate buttercream.
Storage
Lunch Lady Bars store well in an airtight container at room temp. They’re softest within 2 to 3 days and last up to 5 days.
Freeze by wrapping bars individually and storing in a bag or container. Freeze up to 3 months and thaw overnight in the fridge.
More Chocolate and Peanut Butter Treats:
Desserts
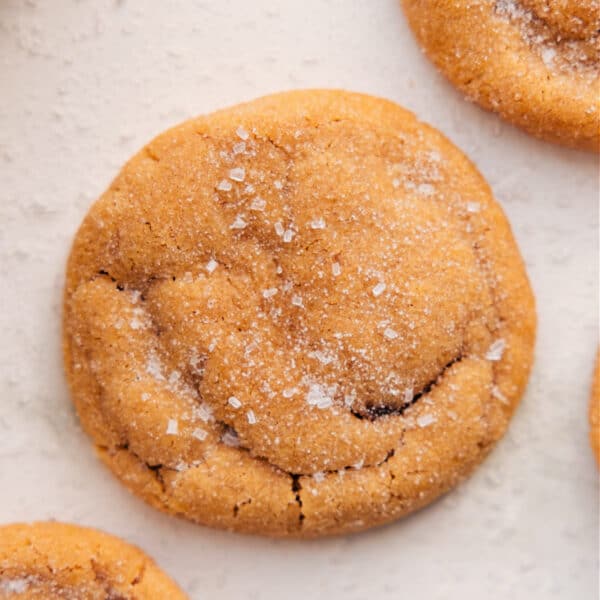
Chewy Peanut Butter Cookies
Desserts
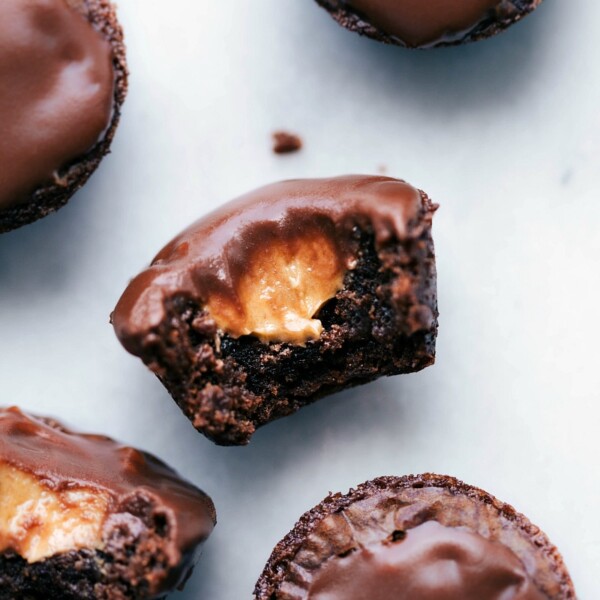
Peanut Butter Brownie Bites

Desserts
Peanut Butter Crunch Candy
Desserts
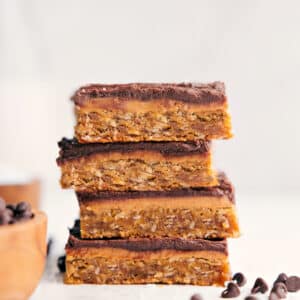
Peanut Butter Bars
Lunch Lady Bars
Video
Equipment
- Jelly-roll pan 17 x 12.25-inch or 13 x 18-inch pan with sides
- Parchment paper optional
- Stand mixer or hand mixer
Ingredients
- 16 tablespoons unsalted butter 1 cup (or 2 sticks), at room temp
- 2 cups light brown sugar firmly packed
- 2 large eggs
- 2 teaspoons vanilla extract
- 1 teaspoon baking soda
- 1 teaspoon salt
- 2 cups old-fashioned oats see note 1
- 1 cup creamy peanut butter see note 2
- 2 cups all-purpose flour
- 1-1/2 cups creamy peanut butter
- 8 tablespoons unsalted butter 1/2 cup (or 1 stick), softened
- 1/4 cup whole milk
- 1-1/2 teaspoons vanilla extract
- 1/8 teaspoon salt
- 1/4 cup cocoa powder dutch process is my fave
- 3 cups powdered sugar
Instructions
- Preheat oven to 350°F. Line or generously grease an 18 x 13-inch or 17 x 12.25-inch jelly roll pan. Set aside.
- Beat butter and brown sugar in a large bowl until smooth and creamy, like peanut butter. Add eggs and vanilla and mix until combined. Mix in baking soda, salt, and oats until just combined. Add peanut butter and mix again. Add flour and mix just until combined.
- Press dough into an even layer in the prepared pan. Bake for 15 to 17 minutes. Do not over-bake. (The bars should be soft for the best texture.)
- Let bars cool for 5 minutes. Warm the peanut butter in microwave until pourable, then drizzle over the bars. Use a knife or spatula to gently and carefully spread into an even layer. Take your time here. Let bars cool completely until the peanut butter sets. Chill if needed to speed this up.
- Add all frosting ingredients to the bowl of a stand mixer. Beat with whisk attachment until smooth and creamy. Spoon frosting over the bars and spread into an even layer.
- Run a sharp knife under hot water, dry it, then cut into bars for clean slices.
Recipe Notes
Nutrition
Nutrition information is automatically calculated, so should only be used as an approximation.


Do you have any pan suggestions if our oven isn’t wide enough to use the pan you say we need to use for this?
It’s a wall oven, and unfortunately, it simply isn’t very wide. I don’t think this pan size will work.
Yours is one of the best recipes I’ve seen, and looks totally doable as gluten free, but the pan-size stymied me. Or is this recipe specifically only for people with regular-sized ovens?
TY.