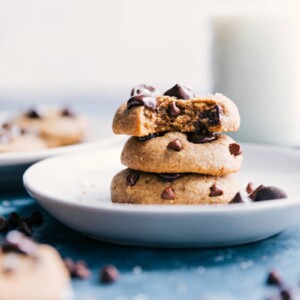
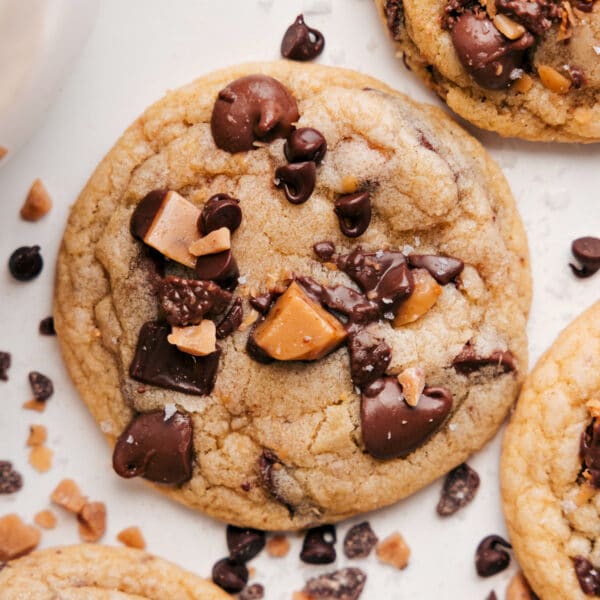
This Healthy Chocolate Chip Cookie Recipe couldn’t be easier. Just one bowl, simple pantry staples, and no gluten or dairy. No added sugar, just extra delicious.


author’s note
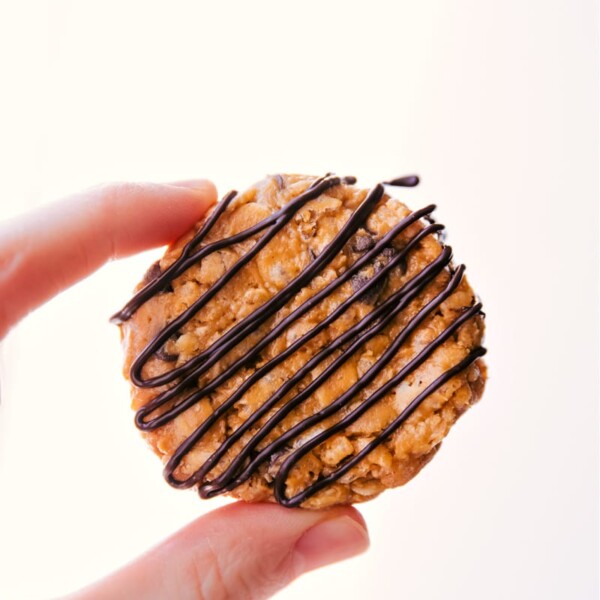
You’d Never Guess These Cookies Are “Healthy”!
These one-bowl Healthy Chocolate Chip Cookies are my answer to a weeknight cookie craving: no gluten, no dairy, and nothing you can’t pronounce.
They’re ready in about 30 minutes from pantry to plate and taste like a cross between an oat-packed granola bar and a classic chocolate chip cookie (with far less sugar).
Why You’ll Love Them
- Simple staples. Everything comes straight from the pantry, so no specialty flours or hard-to-find sweeteners.
- Naturally gluten-free & dairy-free. Oat flour keeps the texture light while coconut oil stands in for butter.
- Quick cleanup. One mixing bowl plus one sheet pan equals easy dishes.
- Custom-friendly. Easy swaps let you adjust sweetness, chocolate type, and mix-ins without losing texture.


Healthy Chocolate Chip Cookie Recipe Ingredients
| Ingredient | Swap Idea |
|---|---|
| Old-fashioned oats (blended to flour) | Certified GF oats for strict gluten-free |
| Coconut oil, melted & cooled | Olive oil will work with a slightly different flavor |
| Egg | 1 flax “egg” (1 Tbsp flax meal + 3 Tbsp water) for egg-free |
| Coconut sugar | Brown sugar wil also work |
| Vanilla, cinnamon, sea salt | Don’t skip these, they add so much extra flavor |
| Baking soda | Keep fresh as expired soda means flat cookies |
| Dark chocolate chips | Any chip you love; mini chips give more even bites |
Quick Tip
Make sure to measure the oats once they’ve been blended into a powder and not before. Gently pack the oats into the measuring cup and level the top off. It’s important to measure the oat flour correctly for the recipe to work properly.

How To Make Healthy Chocolate Chip Cookies
- Blend Oats: Add oats to a blender and blitz to a fine powder.
- Whisk Wet: In a large bowl whisk cooled oil, sugar, egg, and vanilla until glossy.
- Add Dry: Sprinkle oat flour, cinnamon, baking soda, and sea salt over the wet mix. Stir with a wooden spoon just until no flour streaks remain, then fold in chocolate chips.
- Shape: Scoop 1-tbsp mounds, roll, and press each ball to about ½-inch thick because oat cookies don’t spread much.
- Bake: Arrange 2 inches apart and bake.
Quick Tip
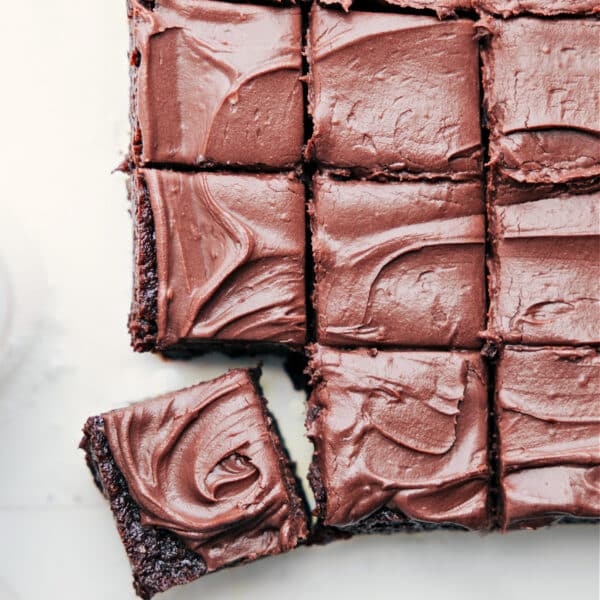
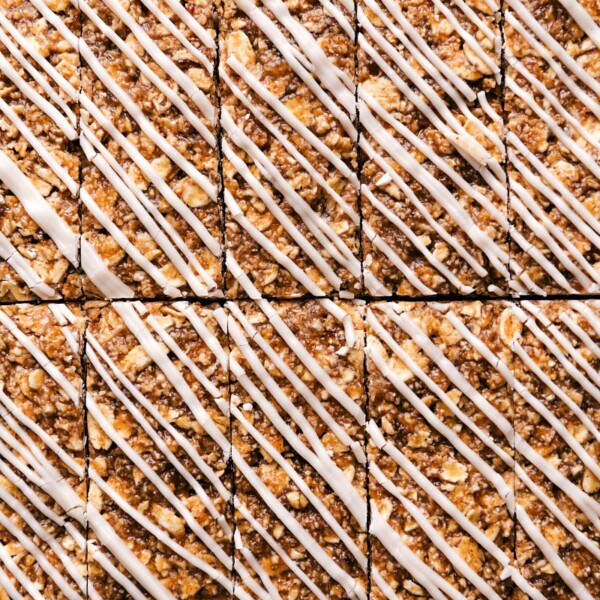
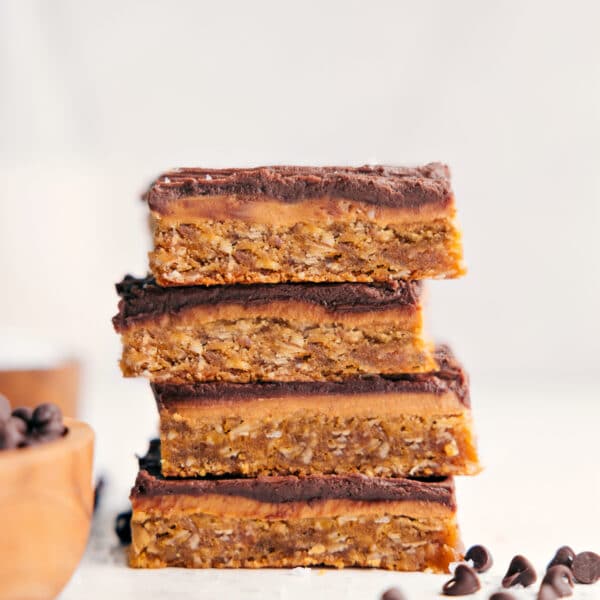
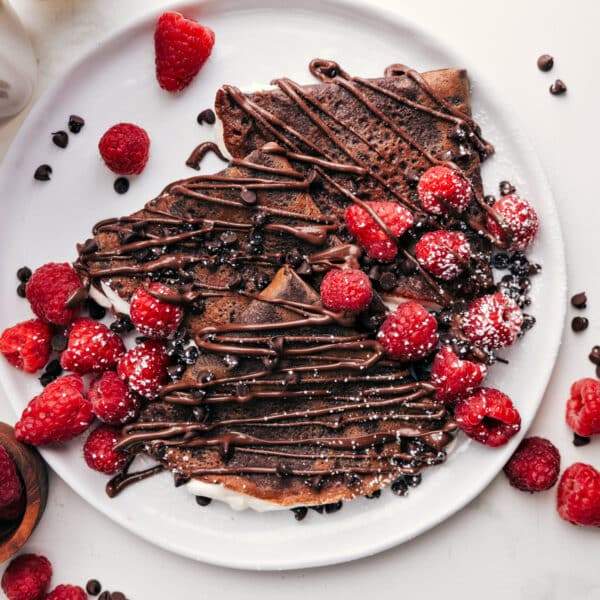
Try Healthy Brownies, Healthy Chocolate Cookies, or Healthy Pumpkin Cookies next time!

Chelsea’s Kitchen Notes
I worked through a half-dozen test batches of this healthy chocolate chip cookie recipe to find the sweet spot between “tastes healthy” and “tastes like dessert.”
Swapping oat flour for regular flour gave the hearty flavor I wanted, but the first batch was crumbly. A short chill fixed that without adding extra steps.
My six-year-old declared the final batch “milk-dunking perfect,” and that’s all the approval I need.
Featured Comment
“Ok, so my 5yo daughter really wanted to make cookies so I googled “healthy chocolate chip cookies from scratch” and this recipe came up. I had everything on hand and pre blended(oats).
– Heather
So freaking fire! All 4 of my kids have devoured them as soon as they were cooked down enough. I will always use your recipe when I want a healthier chocolate chip cookie. Thank you!!”

Storage
Leftovers?
- Counter: Airtight container for up to 3 days to keep edges crispy.
- Fridge: Keeps this healthy chocolate chip cookie recipe chewy for 5 days.
- Freeze: Freeze dough balls, then store for up to 3 months. Bake from frozen at 325°F for 11-12 minutes.
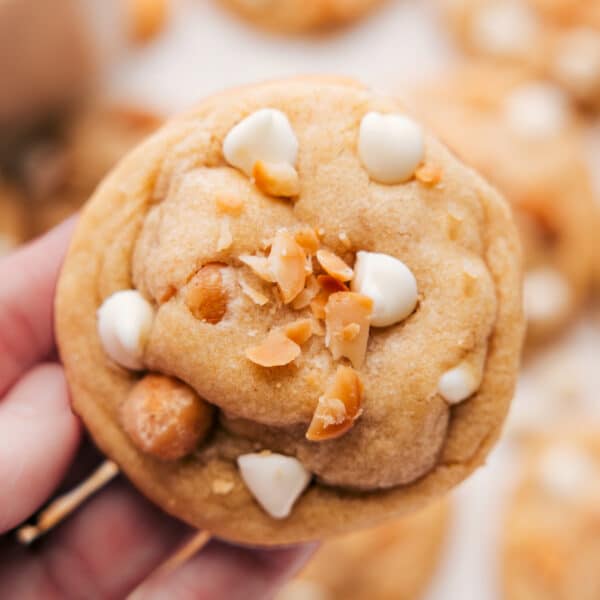
More Delicious Treats To Try:
Healthy Chocolate Chip Cookie Recipe
Equipment
- Blender or food processor
- Sheet pan (15" x 10")
- Silicone baking mat or parchment paper
Ingredients
- 2 teaspoons vanilla extract
- 1 large egg
- 4 tablespoons (up to 6) dark brown sugar see note 1
- 1/2 cup melted coconut oil see note 2
- 1-1/2 cups oat flour regular oats blended in a blender—see note 3
- 1/2 teaspoon baking soda
- 1 teaspoon ground cinnamon
- 1/2 teaspoon fine sea salt or 1/4 teaspoon table salt
- 1/2 cup dark chocolate chips plus additional dark chocolate chips for topping cookies if desired, see note 4
- Flaky sea salt optional
Instructions
- Melt the coconut oil in the microwave until it is liquid. Measure after melting. Set aside to cool back to room temperature—it should not be hot when adding.
- Add old-fashioned oats to a blender or food processor. Blend or process until the oats are fine and resemble flour, stirring and re-blending if needed so all the oats are a fine powder. Measure the oat flour after blending to get level and gently packed oat flour. Set aside.
- In a medium bowl, combine melted and cooled coconut oil, vanilla extract, large egg, and brown sugar in a bowl. Briskly whisk together until completely smooth.
- Add the oat flour, baking soda, cinnamon, and salt. Mix with a wooden spoon and stir until just combined, then stir in the dark chocolate chips.
- Cover the dough tightly and chill for 20–30 minutes. (Don’t skip chilling but don’t chill longer than 30 minutes or the dough is almost impossible to shape!) Meanwhile, preheat oven to 350°F. Remove dough and use a 1-tablespoon measuring spoon to portion out dough balls. Tightly roll the balls, then slightly flatten. You should get 22–24 cookies. Place rolled-out balls on a parchment-paper-lined plate. Once rolled, chill all the dough balls for another 10 minutes.
- Once chilled, transfer dough balls to a lined sheet pan, spacing them out 2 inches apart. Bake for 7–9 minutes (I think they’re perfect at 8 minutes) or until no longer gooey on top. Slightly underbaking is best for flavor and texture. Carefully remove the tray from the oven. If desired, press a few more chocolate chips into the tops of the cookies. It makes them look pretty and ensures chocolate in every bite! Once those chips have melted a bit, add a sprinkle of sea salt on the melted chocolate, if desired. Let the cookies stand on the sheet pan 5 minutes. Then, very carefully, use a spatula to remove them to a cooling rack. Handle delicately—these cookies are crumbly.
- Enjoy hot, warm, or at room temperature (I like them best right out of the oven!). Cookies are best the same day—they get harder and less sweet every day following.
Recipe Notes
- Measure the ingredients exactly. As with most baked goods, loosely measuring may result in cookies that do not work out properly.
- Even tried-and-true substitutions (flax egg for regular egg, vegetable oil for coconut oil, or almond flour for oat flour) don’t work the same in these cookies—this recipe is fairly particular.
- Use room-temperature ingredients. It’s best if the egg and coconut oil are at room temperature. This ensures even emulsification of ingredients instead of a cold egg seizing up in warm or hot coconut oil.
Nutrition
Nutrition information is automatically calculated, so should only be used as an approximation.


Hi there. I’ve followed this recipe especially the chill before putting into balls part to the T. I’m at 3,500 feet elevation and they turned out like one big flat cookie blending into each other. Help!? What do I do?
It sounds like you might need a bit more oat flour to absorb the liquid — I would add more oat flour until the balls are more firm.
By the way, I was not able to leave a rating earlier so am posting it here as I see it is now available.
Thank you for the recipe. These cookies were ok for me but definitely tasted healthy. I am at high altitude so perhaps I wasn’t able to make proper adjustments. I wanted to leave a review as there are so many 5 star reviews here from people that did not make the cookies. I am sure they are better if made correctly. I am taking them to a party (along with unhealthy brownies!) so will update and let you know what everyone else thought. You have a very nice website!
Thank you so much Liz! I appreciate it 🙂 Definitely let me know what everyone thought 🙂 Best!
Hi! These cookies were relish and turned our PERFECT!!! Just checking how long will these cookies keep unrefridgerated? If I do refrigerate the cookies, how long will they last? Thanks!
So happy to hear these turned out perfectly for you! 🙂 They are best eaten in or out of the refrigerator within about 3-4 days 🙂
Yum!!!!!!!!!!!!!!! thanks for the recipe
You are so welcome! 🙂 I’m thrilled you enjoyed these 🙂
Very healthy and delicious recipe.. Going to try this weekend.
Awesome! I hope you love them!
OMG I just made them and they are delicious!!! I replaced the brown sugar with coconut nectar and added a little extra oat flour. Turned out awesome! Been out of the oven all of 10 minutes and I’ve already inhaled 2 ? Thanks for the awesome recipe! Will be making these again for sure
I’m so thrilled these were a huge hit!! Thanks so much for the comment Erin 🙂
Hi! Just wondering if coconut oil is essential in this recipe? And is it possible to replace it with anything else? 🙂
It’s very essential to this recipe. I’ve never tried it, but I know some reviewers have had success with butter as a substitute.
I’m wondering if these would hold up when making ice cream sandwiches? They need to be fairly soft and chewy.
I don’t think these would be the best for ice cream sandwiches if you want them to be neat 🙂 Sorry Jennie!
I made these for my boyfriend a few months ago and he was absolutely addicted to them. He even requested them for his birthday in lieu of a gift haha! This recipe was perfect and I will be making these again, thanks Chelsea!
Wow that is a great compliment!! Thank you so much Hannah I appreciate that 🙂