This Ham and Cheese Sliders Recipe is buttery and delicious, with sweet Hawaiian rolls, deli ham or holiday leftovers, Swiss cheese, and a seasoned buttery topping.
Try these other game day appetizers next: Pigs in a Blanket, Italian Sliders, and/or this Cheeseball. Prepare these sandwiches ahead and bake just before serving.


author’s note
Sliders So Good, You’ll Wish You Made a Double Batch!
Over the years, I’ve shared all kinds of slider recipes, but the two I make most often are these Ham and Cheese Sliders and these French Dip Sliders. It’s about time I added this one to the mix!
These mini sandwiches are not only incredibly easy to make, but they’re also the perfect game day snack. With the Super Bowl coming up and February right around the corner, these sliders deserve a spot on your game-day menu.
I’ve included step-by-step photos that walk you through the whole recipe visually, just to show how EASY it really is!


Ham And Cheese Sliders Recipe Ingredients
- Sweet Hawaiian rolls: Soft and slightly sweet base. Use a serrated knife to cut rolls evenly.
- Cooked deli ham: Adds savory flavor. Ask the deli for thinly sliced ham for even layers.
- Swiss cheese: Use pre-sliced cheese for easy layering.
- Unsalted butter: Base for the topping. Let melted butter cool slightly before mixing.
- Worcestershire sauce: Adds tangy, savory depth. Measure beforehand for easy mixing.
- Dijon mustard: Gives a tangy kick. Whisk well into the butter.
- Poppy seeds: Sprinkle a few extra on top for crunch.
- Dried minced onion: Mild onion flavor. Crush slightly to release more flavor.

How To Make Ham And Cheese Sliders Recipe
- Separate the rolls. Using a sharp, serrated knife, slice the rolls in half so you have a top and bottom — you want the bottom slightly thicker than the top. Don’t separate individual rolls–right now, you want them all in a sheet.
- Add cheese and meat. Put down a layer of cheese, a layer of ham, and another layer of cheese. Top with the other half of the rolls right back on top.
- Make buttery topping. Melt some butter + a few seasonings + Dijon mustard in a bowl. Whisk together and pour over the rolls.
- Bake. Cover the rolls and bake! Slice ’em up and enjoy these hot ham and cheese sandwiches straight out of the oven!
What To Serve With Sliders
These ham and cheese sliders work great as an appetizer or easy meal. Kids love the smaller size! Here are our favorite sides to serve with them.

Storage
Can you freeze this Ham and Cheese Sliders Recipe?
Yes, you can! Here’s how:
- Assemble: Prepare sliders but don’t bake; include ham, cheese, and topping.
- Freeze: Place unbaked sliders on a tray, freeze briefly, then transfer to a freezer bag or wrap well in foil and plastic.
- Bake from frozen: Bake directly from the freezer, allowing extra time for them to heat through.
How do you store sliders?
- Cool: Let cooked sliders reach room temperature. Place in an airtight container or wrap tightly in foil or plastic wrap. Store for 1-2 days in the fridge.
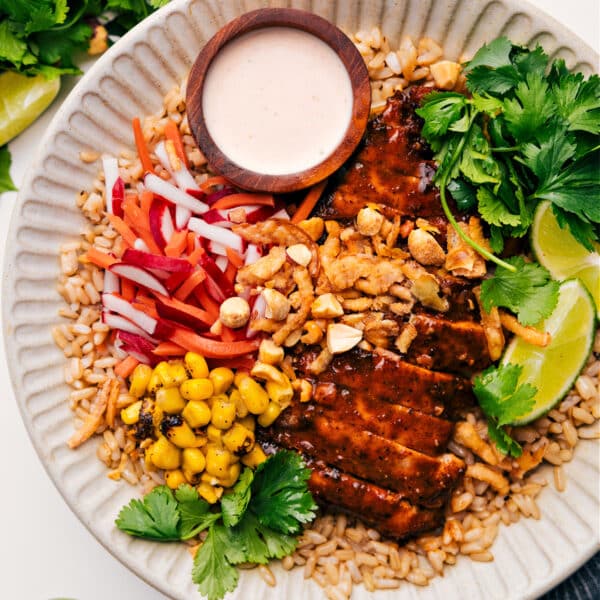
More Game Day Eats:
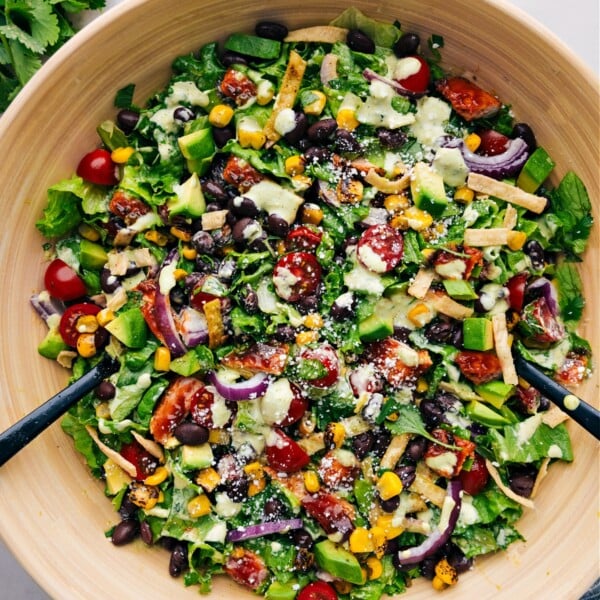
Salads
BBQ Chicken Salad

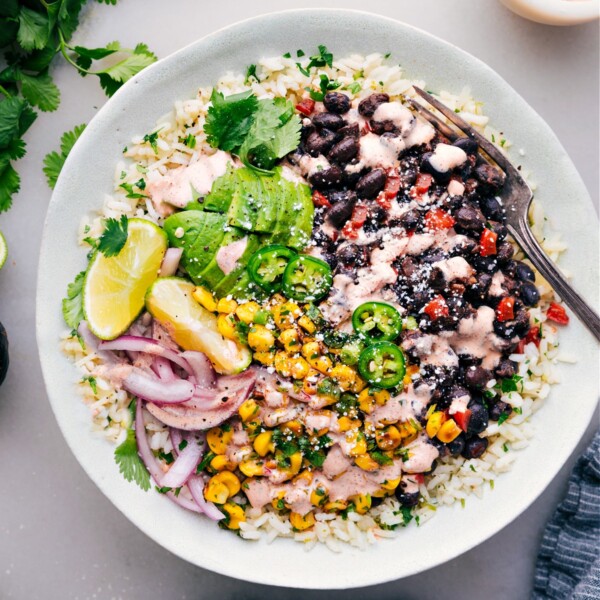
Dressings
Chipotle Ranch Dip
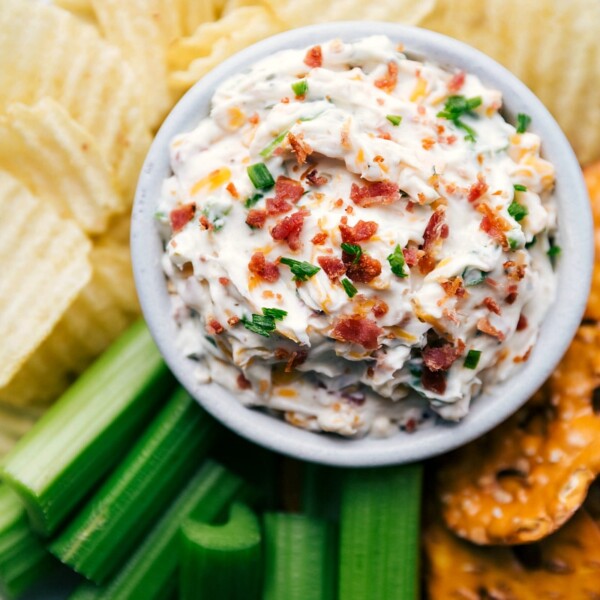
Dressings
Loaded Baked Potato Dip
Appetizers
Pigs in a Blanket Recipe

Ham and Cheese Sliders Recipe
Video
Equipment
Ingredients
- Cooking spray
- 1 package (12 rolls total) Hawaiian sweet dinner rolls
- 3/4 pound deli ham thinly sliced; I use honey ham or black forest ham
- 1 (12-ounce) package Swiss cheese sliced
- 8 tablespoons unsalted butter 1/2 cup, melted
- 1 teaspoon Worcestershire sauce
- 1 tablespoon Dijon-style mustard
- 1 tablespoon poppy seeds
- 1/2 tablespoon dried minced onion
- Salt and pepper optional
Instructions
- Preheat oven to 350°F. Spray a 9×13-inch baking pan with cooking spray and set aside.
- Using a sharp serrated knife, slice the rolls in half horizontally (see pictures in post) while keeping individual rolls intact. Place the bottom half of the rolls in the prepared pan.
- Add half the cheese in an even layer on top of the rolls. Next, add an even layer of ham. Top with the remaining cheese in an even layer on top. Finish with the top half of the rolls.
- Melt the butter in a microwave-safe bowl. Set aside to slightly cool. Whisk in the Worcestershire sauce, Dijon mustard, poppy seeds, minced onion, and salt and pepper to taste. (I add a good pinch of each.)
- Slowly pour the butter mixture over the rolls. Use a pastry brush or spatula to evenly spread the mixture over the tops. Some of the mixture will pool at the bottom of the rolls, which you want to make the bottoms crispy! You don’t need to use all the butter mixture—I usually use just over 3/4 of it.
- Cover the rolls with foil and bake for 20 minutes. Remove the foil and (watching closely) bake for another 3–5 minutes or until tops are slightly crispy and cheese is melty.
- Serve these sliders straight out of the oven!
Recipe Notes
Nutrition
Nutrition information is automatically calculated, so should only be used as an approximation.


Can you make these ahead and make later?
I wouldn’t recommend making them too far in advance, they will get soggy! These are best made right before baking/eating
We made these for football Sunday and boy were they good! We devoured them! Can’t wait to make them again!
YAYY!! I’m soo happy to hear you enjoyed this!! Thanks for your comment! 🙂
These are my favorite to make for entertaining! They are such a crowd pleaser, so cheesy, & so good!!
I saw this photo on Pinterest and knew I had to make them. Boy are they great! So easy for a crowd too.
This is one of my all time favorite weeknight dinners. Our whole family loves these!
So tasty! These are perfect for holiday get-togethers and birthday parties, and the Superbowl in February! Love this!
Has anyone tried these in a crock pot or turkey roaster? I was hoping to do these at a work potluck but don’t have access to an oven – any suggestions?
love how this can be made in production line style! Just one huge slice of bread that is already pre-sliced kinda into rolls, nice and thank you!
Chelsea: Love this recipe! I made these for a work-related potluck and everyone went crazy over them! They could not believe how delicious they were, plus how easy they were to make. I also discovered that any leftovers (if you are lucky enough to have any) can be frozen and are just as awesome as fresh-baked. Thank you!!
Yay! I’m so thrilled to hear these sliders were a hit! 🙂 Thanks so much for the comment and review Stephanie!
since wordpress updated, and easy recipe doesn’t work anymore (at least not for me) which recipe plugin do you use now? i switched to wp recipe maker. thanks!
I use WP recipe maker 🙂
OK. Thank you! BTW, I purchased your
e-book…
Hope you love it! 🙂