
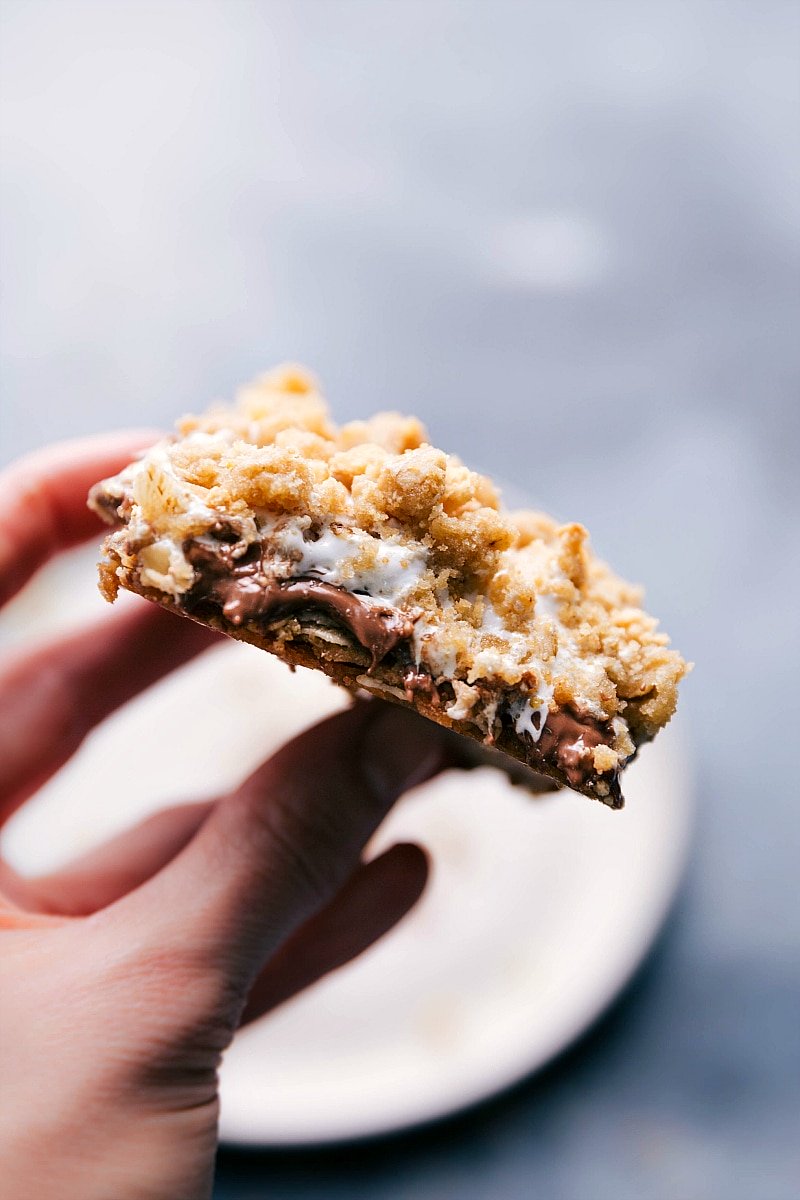
S’mores Cookie Bars are gooey, marshmallow-filled, chocolate-layered, and graham-cracker oatmeal crumb coated perfection.

author’s note
No Campfire? Make These Instead!
There are few desserts that disappear faster at my house than anything S’mores-inspired. The problem? I don’t exactly have bonfires happening every night. And honestly, sometimes I want all those classic flavors without smelling like smoke or trying to keep marshmallows from catching fire.
So I started playing around with turning my favorite summer treat into a bar. I knew I wanted more than just graham crackers and chocolate layered together. I wanted a thick, chewy cookie base with some texture and flavor built right in.
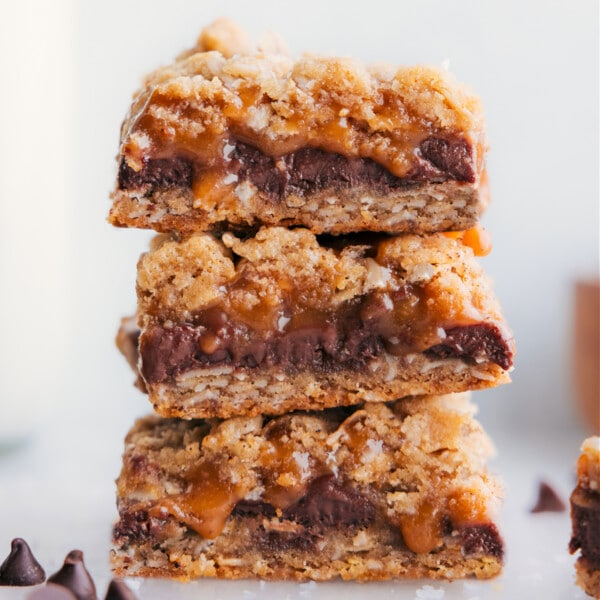
After a few test batches, these S’mores Cookie Bars became my favorite version. The oatmeal cookie layer adds a soft and chewy texture, the marshmallow fluff stays perfectly gooey, and the graham cracker crumble on top gives that unmistakable S’mores flavor. The first time I made them, I cut into the pan while they were still slightly warm and immediately knew I had a problem. They disappeared way too fast.
And honestly? I kind of love that they taste like summer, no matter what month I make them.

S’mores Cookie Bars Ingredients
| Ingredient | Tips & Swaps |
|---|---|
| Butter | Let the butter cool before mixing. Hot butter can make greasy bars. |
| Light brown sugar | Pack the sugar when measuring for the right sweetness and texture. |
| Old-fashioned oats | Avoid quick oats or steel cut oats; they won’t work in this recipe. |
| Milk chocolate chips | I love milk chocolate for classic S’mores flavor. Dark or semi sweet work too. |
| Marshmallow creme | Warm for a few seconds before spreading. It makes life much easier. |
| Graham crackers | Crush coarsely instead of turning them into dust. Bigger bits add texture. |
How To Make S’mores Cookie Bars Tips
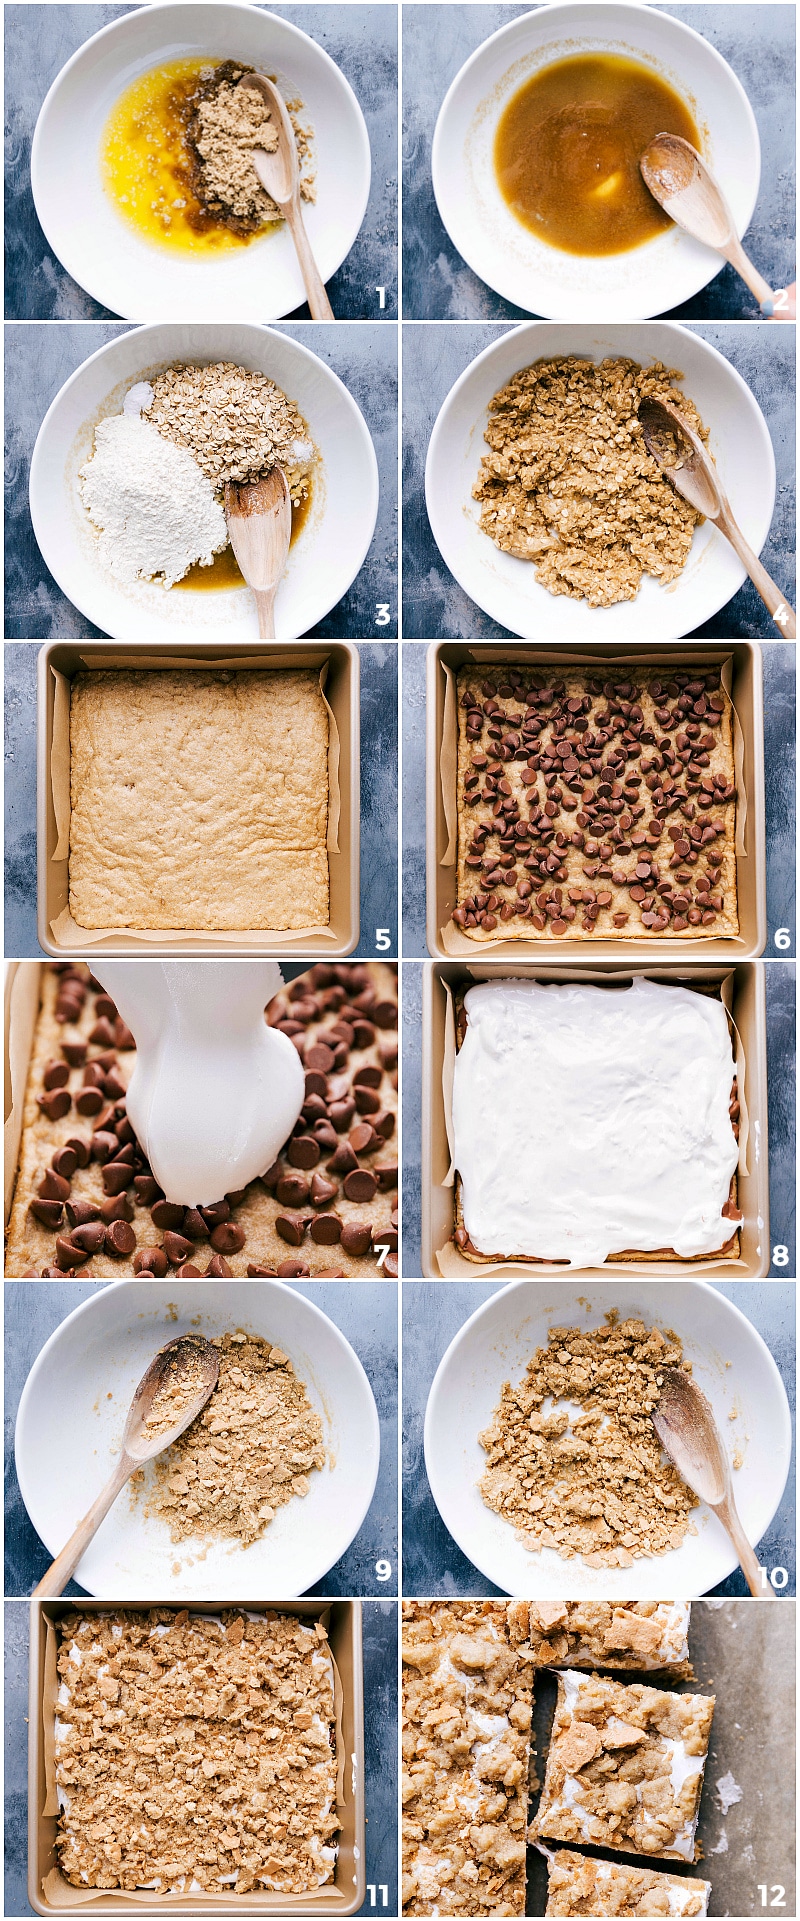
- Make dough: Mix together the butter, sugar, flour, oats, baking soda, and salt.
- Bake the base: Press half the dough into a lined baking pan and bake briefly.
- Filling: Sprinkle chocolate over the crust, then spread marshmallow fluff on top.
- Finish topping: Stir crushed graham crackers into remaining dough and crumble over the marshmallow layer.
- Bake & cool: Bake until lightly golden, then let cool completely before slicing into bars.
chelsea’s recipe tip
My Top Tips For Success
- Use an 8×8 pan: I prefer it for thick bakery-style bars.
- Use high-quality chocolate: Better chocolate melts smoother and tastes richer.
- Let marshmallow peek through: Don’t stress about completely covering the top layer.
- Cool fully before cutting: Warm bars are delicious, but fully cooled bars slice much cleaner.
Storage
- Cool and Cut: Allow bars to cool completely in the pan, then lift them out using the parchment paper and cut into squares.
- Store Airtight: Place bars in an airtight container with parchment paper between layers to prevent sticking.
- Keep Fresh: Store at room temperature for up to 3 days or refrigerate for up to 1 week.
More Delicious Dessert Recipes:
S’mores Cookie Bars
Video
Equipment
- 8 x 8-inch baking pan or 9 x 9-inch for thinner bars
Ingredients
- 3/4 cup unsalted butter partially melted and cooled
- 3/4 cup light brown sugar firmly packed
- 1 cup all-purpose flour
- 1 cup old fashioned oats do not use quick or steel oats
- 1 teaspoon baking soda
- 1/2 teaspoon salt
- 1 (12-ounce) bag milk chocolate chips
- 1 (7-ounce) jar marshmallow creme I use Jet-Puffed Marshmallow Creme
- 2 graham crackers
Instructions
- Preheat oven to 350°F. Line an 8×8 or 9×9-inch baking pan with parchment paper and set aside. I prefer 8×8 pan for thicker bars, but either works.
- In a large bowl, mix the melted and cooled butter (see note 1), brown sugar, flour, oats, baking soda, and salt. Stir until combined in a thick cookie dough. Divide the mixture in half and press one half into the prepared pan.
- Bake at 350℉ for 8 minutes, then remove.
- Immediately out of the oven, sprinkle the chocolate chips evenly over the cookie crust. Warm the marshmallow fluff in the microwave (make sure there is no metal/foil topping on the fluff or don’t microwave) for 7 seconds. Spoon the marshmallow fluff on top of the chocolate chips and, working slowly and carefully, gently smooth into one layer.
- Crush the 2 graham crackers (I put them both in a bag, seal the bag, and crush with a wooden spoon or handle of a knife; just a coarse crush is enough). Add the crackers to the rest of the cookie dough mixture and stir to combine. Crumble the cookie dough mixture over the marshmallow fluff. Bake another 13–15 minutes until the top layer is lightly browned.
- Remove from oven and allow to cool at room temperature for at least 1 hour before cutting into the bars. Using the parchment paper overhang, pull bars out and cut with a sharp knife. Best enjoyed within 2–3 days (store in an airtight container).
Recipe Notes
Nutrition
Nutrition information is automatically calculated, so should only be used as an approximation.











Can I double the recipe for a 9×13 pan?
I don’t see why not, but I haven’t ever tried it myself.
Been making these for nearly 3 years, always a 10 from everyone. I call it Death by Bob, hope that’s ok, Chelsea the real mvp. Really is the best.
Haha!! This comment made my day! I’m so happy to hear it’s a hit and I love your name for it 🙂 Thanks Bob!
These look delicious! I wanted to make them ahead to bring camping this weekend. Do they keep for a couple of days? Would I have to keep them refrigerated or is room temperature okay?
They actually aren’t the best after a couple of days or so just because of the marshmallow layer (gets hard and blah tasting). If you do make them ahead wrap them SUPER tightly and room temperature is fine as long as it’s not too hot they will be great 🙂 ENJOY!
can this recipe be doubled for a 9×13 pan?
I haven’t personally tried that, but I don’t see why that wouldn’t work 🙂
I made these tonight and while tasty, the top never formed a “dough” and didn’t bake into the other layers. I followed the recipe exactly. Any thoughts?
The top doesn’t really bake into the layers – it’s definitely it’s own layer that tends to mesh with the marshmallows as they get melted. I’ve never had any problems with it not baking all the way in all the times I’ve made these, so I’m not quite sure what’s going on. Did the bottom layer bake for you or was that not all the way baked either? Because that may suggest a cooler oven? Perhaps a few more minutes in the oven could bake it a little more. However, you’ll want to be careful that you don’t overcook it because the marshmallows will not be great.
Chelsea!!! oh my gawd, these look so good!!! After last night, you’d think I’d be all “sweets” out . . but I’m not!! Pinned!!
Hi! I’m just wondering what will happen if I sub in peanut butter instead of regular butter, then cut out sugar completely. I’ve made s’mores bars without sugar, but I used butter at that time. If I use peanut butter and a little milk, will the cookie part taste like peanut butter?
I’m sorry to not be of more help, but as I haven’t tried any of those swaps in this particular recipe I really couldn’t say if they would work out like you are thinking. I do think they would taste like peanut butter if you used that in place of the butter though.
I agree with Chelsea – my favorite S’mores dessert ever! I followed instructions exactly, and they turned out perfect. I refrigerated them after they cooled to make them easier to cut into bars. This one is a keeper. Just fantastic.
Yay! So great to hear they are your favorite S’mores dessert!! Still my favorite too 🙂 Thanks for the tip about putting them in the fridge for easier slicing! And thanks for the kind comment!
Yummmmmmm……I need to stop going onto foodgawker in the morning! Although this has oats in it, it is not breakfast! This is like carmelitas (http://onlyfitinjustenough.blogspot.ca/2014/01/carmelitas.html) meets s’mores….it looks so good, and this has taken first place and bumped a few things down on my list of things to make! I have a love of
s’more-ified foods, so you may be a blogging kindred spirit (if that’s o.k.!)! 🙂
Making these tomorrow morning, to take & share with friends at dinner. And a great way to use up the leftover s’mores ingredients from camping this summer! Thanks for the recipe!